How to Lace Soccer Cleats Without Heel Slip: 4 Proven Methods

To stop heel slip, lock the top eyelets while keeping the forefoot calm. The best method is to hold your heel without crushing your toes. Start with snug cleats, game socks, and clean laces.
Learning how to lace soccer cleats can change how the whole shoe feels. A good lace pattern pulls your heel into the rear cup. It should not make your foot numb or sore.
Heel slip feels small during warmups. Then each sprint adds rubbing, heat, and doubt. The right setup keeps your mind on the ball.
Why Your Heel Slips Inside Soccer Cleats
Loose laces are only one possible cause. The shoe may be too long, wide, or poorly shaped.
Soccer cleats should feel snug, but never painful. Your heel should stay down when you jog or cut. Lacing cannot rescue a shoe that is clearly too large.
Try this quick fit check first:
- Wear the socks used during matches.
- Push your heel firmly into place.
- Lace from the bottom upward.
- Jog and make two sharp cuts.
- Notice any lift behind the heel.
If your heel still rises, compare another size and cleat shape. Fit matters more than the logo.
Before You Change the Lace Pattern
Sit down and loosen every lace row. Place your heel against the back of the cleat. Then smooth the tongue before adding tension.
Pull each row with small, even moves. Keep the forefoot snug but not tight. Save the strongest pull for the upper rows.
Does only the heel lift, or does your whole foot slide? Whole-foot movement often signals poor sizing.
DMK Sports offers an in-store soccer shop with cleats for several playing surfaces. Its team also helps players compare fit before buying. That try-first step can reveal problems no lace trick can solve.
Method 1: Use the Runner’s Loop Heel Lock
The runner’s loop is the clearest fix for heel lift. It uses the final two eyelets to form small loops. The crossed laces pull the heel backward and downward.
Adidas describes heel-lock lacing as a common way to reduce heel slip. The method keeps tension near the shoe opening. It avoids squeezing the lower foot when done well.
Follow these simple steps below:
- Lace normally until the second-highest eyelets.
- Feed each lace straight into the top eyelet.
- Leave a small loop on each side.
- Cross each lace through the opposite loop.
- Pull backward, then tie a firm bow.
Do not yank the loops upward. Pull them back toward your heel instead. This seats the foot more securely.
Test the method with three short sprints. Your heel should stay down without ankle pain. Loosen the loops if the collar feels sharp.
This method suits cleats with spare top eyelets. It can also help narrow heels.
Method 2: Add a Low Instep Heel Lock
Some players feel pressure near the ankle with a high lock. A lower lock can hold the heel from the instep. This works near the point where your foot curves upward.
The Appalachian Mountain Club recommends holding tension near that bend. Its guide uses a surgeon’s knot below the lock. That knot helps keep the lower lace rows secure.
Use this heel-lock pattern carefully:
- Lace the forefoot with a normal cross.
- Stop where your foot starts curving upward.
- Cross the laces twice before pulling tight.
- Continue through the next eyelets.
- Finish with a normal bow.
The double cross acts like a small brake. It stops lower tension from fading while you finish. Your heel then stays seated with less ankle pressure.
Keep the knot snug, not fierce. Tingling means the lock is too tight. Release one row and try again.
This method can suit high collars or cleats without spare top eyelets. The goal is steady control.
Method 3: Use Zoned Crisscross Lacing
Not every foot needs equal pressure everywhere. Wide forefeet often need room near the toes. Narrow heels may need more hold near the top.
Zoned lacing keeps lower rows comfortable. Each higher row becomes slightly firmer. The final rows create the main heel hold.
Use this simple tension plan:
- Keep the first two rows gently snug.
- Add moderate tension across the midfoot.
- Pull the upper rows more firmly.
- Lock the final cross before tying.
- Recheck toe movement after standing.
This method helps when a full heel lock feels harsh. Lace patterns can change support and comfort.
You should still move your toes. Your heel should stay calm during quick cuts. Adjust one row at a time.
Pulling every row hard creates pressure without better heel control. Firm top tension often works better.
Method 4: Finish With a Double-Wrap Lock
Sometimes the lace pattern works, but the knot loosens. That lets tension fade during play. A double-wrap finish helps the knot stay set.
Cross the laces as usual before making the bow. Wrap one lace around the other twice. Then complete the normal loops.
Follow this short locking finish:
- Set your preferred lace tension.
- Cross both lace ends once.
- Wrap one end around twice.
- Pull the base knot snug.
- Tie a short balanced bow.
A double knot adds security. Keep loops short and tucked away during play.
This method does not create a heel lock alone. It protects the tension created by another pattern. Use it after Methods One, Two, or Three.
How to Lace Soccer Cleats Without Crushing Your Foot
A heel lock should feel firm, not painful. Your toes should remain warm and free. The upper should not leave deep marks.
Stop and relace when you notice:
- Numb toes or a cold feeling
- Sharp pressure across the instep
- Pain around the top eyelets
- New rubbing beside the ankle
- A tongue folded under the laces
Feet can swell during play. Leave room and recheck the laces after warmups.
Never chase a perfect lock through pain. Looser tension or another cleat shape may work better.
When Lacing Cannot Fix Heel Slip
Lacing helps with small fit gaps. It cannot shorten an oversized cleat. It also cannot reshape a poor heel cup.
Check the shoe size when your toes slide forward. Check the width when your whole foot shifts sideways. Compare another model when only the heel feels loose.
You can browse Firm Ground Cleats for natural grass play. Firm-ground models use molded studs for dry or slightly wet grass. Always match the sole to your main surface.
DMK Sports carries firm-ground, turf, and futsal options online and in-store. Trying both feet helps because one foot may be larger. Bring your game socks for the best check.
A Simple Five-Minute Field Test
Never judge the new pattern while sitting. Stand, jog, cut, and strike the ball. The heel should stay down through each move.
Use this short field test:
- Jog forward for twenty yards.
- Stop and cut toward each side.
- Make three short, controlled passes.
- Take two firm, balanced shots.
- Check pressure and heel movement.
Retired after the first round. Small changes work better than one hard pull.
The best fit becomes easy to forget. Your feet simply follow the play.
Choosing Cleats That Work With Your Feet
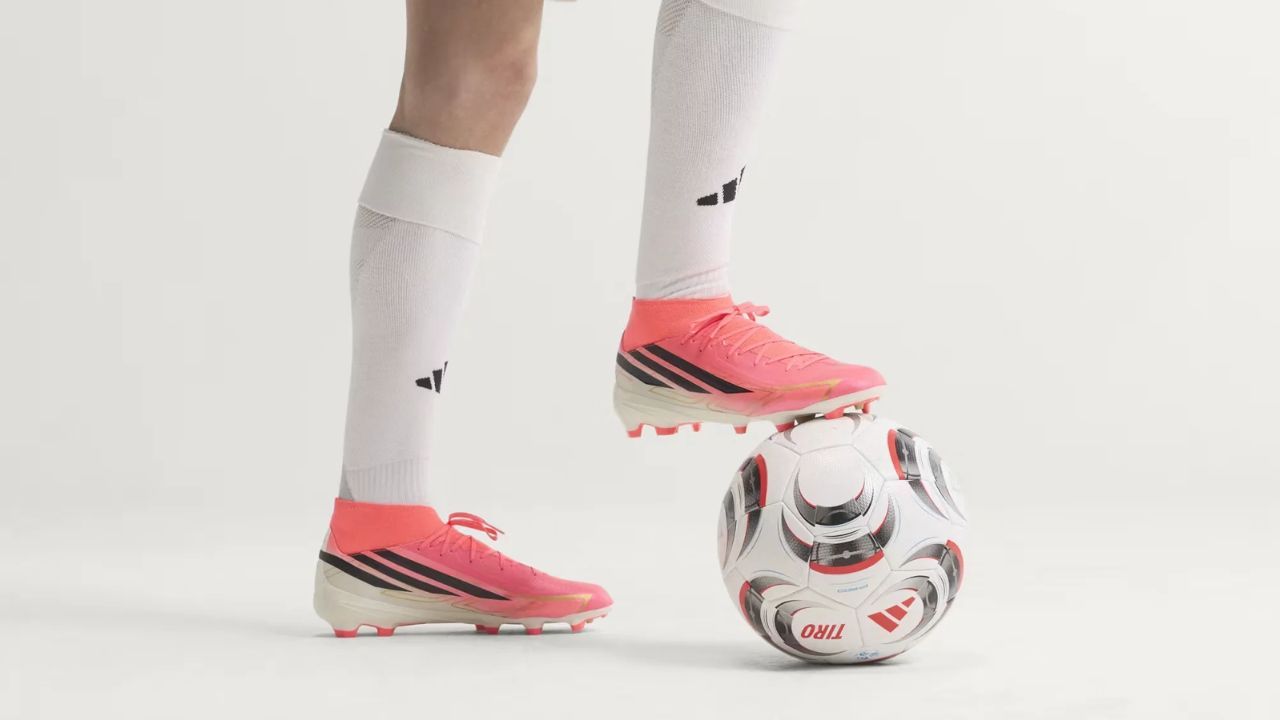
Good lacing starts with the right shoe. Firm Ground Cleats suit dry or slightly wet natural grass. Turf and indoor shoes use different sole designs.
Think about heel width and forefoot shape. Cleat shapes vary through the rear and toes.
DMK Sports has provided family-friendly soccer service for more than thirty years. Its in-store range includes cleats, balls, and other soccer gear. Players can compare options before choosing a pair.
Price should not lead the decision. A well-shaped mid-range pair may feel far better.
The Best Lace Pattern Feels Almost Invisible
Now you know four practical lacing methods. Start with the runner’s loop, then test lower or zoned locks. Keep every adjustment firm, calm, and pain-free.
The right pattern should hold through every sprint and still allow natural movement. Will your next match test your skill, or your loose heels?
Frequently Asked Questions
Does heel-lock lacing work for soccer cleats?
Yes, when the cleat already fits well. It cannot fix a shoe that is too large.
Should soccer cleats feel very tight?
They should feel snug and secure without pain. Your toes need slight room during movement.
Can children use a runner’s loop?
Yes, when the eyelets allow it. An adult should check tension before play.
Why does only one heel slip?
Feet are rarely exactly identical. One heel may be narrower, so adjust each shoe separately.
Should I size it down for heel slip?
Not before checking width and shape. Sizing down can crush the toes.